Moonrise Kingdom’s “Suzy Bishop” Inspired Look

MainSuzy-Bishop

After careful analysis and heated debate (with myself of course), I decided that Sarah IS Suzy Bishop from Wes Anderson’s Moonrise Kingdom. End of story. Don’t talk to me about. Just kidding do. Let’s have a discussion about it.

So I kind of took it upon myself to change the look up a little bit, but the essence of the look is still there. This really really looks great if you have blue eyes, which Sarah stole from a willing crack addict on the street and inserted into her own eyesockets to achieve. The blue eyeshadow that I use is much darker than Suzy’s actual teal eyeshadow, but you make do with what you have if you are lazy and unmotivated like me. #YOLO

Enjoy!

1. Apart from applying Elf Mineral Infused Primer to Sarah’s face, I left the skin bare for a moment and went straight to the eyes to avoid eyeshadow fallout ruining a perfect base.

2013-01-20 05.06.50

2. With my Elf Flat Eyeshadow brush I took Ben Nye’s FX Creme Eyeshow in Sapphire Blue and applied it to Sarah’s eyelids, not going beyond the socket.

2013-01-20 05.10.06

3. Then with a clean Eyeshadow Brush I took my Stila Rockin’ in Rio Palette and applied iPanema (electric blue) over the cremeshadow and then took Elf’sBlending Brush to blend out the edges. I also took a small angeled brush and applied the color on her lower lashline as well.

2013-01-20 05.12.41

4. Using Elf’s Liquid Eyeliner in Black, I painted a thin line close to the upperlash lashline and then flicked out to create a tiny cateye.

2013-01-20 05.24.55

5. I put Shimmer Strip’s Custom Eye Enhancing Eyeliner in Blue on the waterline and into the inner corner of the eye.

2013-01-20 05.27.39

6. After curling the lashes I applied a generous coat of Benefit’s They’re Real Masacara to the top lashes.

2013-01-20 05.27.21

7. Then I applied a thin layer of Benefit’s Hello Flawless Oxygen Wow Foundation in Fair all over the face using my Real Techniques Expert Face Brush and set with Revlon Stay Matte Pressed Powder in Transluscent.

2013-01-20 05.34.45

8. After concealing under the eyes with Mac Studiofinish Concealer in NW30, I applied a bit of NARS Blush in Orgasm to the apples of Sarah’s cheeks.

2013-01-20 05.39.14

This is the finished look!

2013-01-20 05.40.14

The eye makeup!

2013-01-20 05.40.18

2013-01-20 05.51.44

2013-01-20 05.49.27

Suzy Bishop gif

Adele Inspired Look

DSC_0363

I managed to convince my young and quite striking friend/aspiring actress Sarah to assume the role of Adele for my blog’s benefit. It’s definately more of an adapted look that takes inspiration from Adele’s signature cat-eye and vintage black dresses that she normally sports on the red carpet. I think she has become the icon not only in music, but in fashion. You go, Adele. You go…

Here is a step-by-step guide including products used to create this look:

1. I moisturized with Cerave then applied Revlon Photoready Color Correcting Primer evenly

2. Using Elf Mineral Foundation Brush I applied Clinique Even Better Foundation in Ivory evenly to Sarah’s face and blended down her neck

DSC_0345

3. I combed through the brows using Elf’s Brow Brush and applied the third eyeshadow (taupey brown) in the Loreal Neutral Palette with Elf Angeled Brush to fill in her brows

DSC_0349

4. Using the Sonia Kashuk Concealer Palette I covered any blemishes, blending out with a clean makeup sponge and then applied the translucent powder in the palette to set using my Elf Blending Brush

5. I applied the first eyeshadow (cream colored) in the Loreal Neutral Palette all over the lid and up to the browbone using EcoTools Flat Eyeshadow Brush

DSC_0346

6. Using an EcoTools Crease Brush I applied the fourth eyeshadow (darkest brown) from the Loreal Neutral Palette underneath the socket bone and countered the socket, blending upwards and out towards the brow bone. I took the same shadow and using a small pencil brush, applied it to the lower lash line.

DSC_0348

7. Using Maybelline Gel Liner in Black and any small eyeliner brush I applied a thick line to the top lash line and then winged out to the end to create a cat-eye effect. Then I went over this line again with Elf’s Liquid Eyeliner in Black to intesify the line.

DSC_0358

8. After curling her lashses, I applied two coats of Too Faced Size Queen Mascara to both the top and bottom lashes

DSC_0360

9. I applied Mac Studiofinish Concealer in NW 20 underneath the eye with my finger to heat the product. Then with the Elf Large Fluffy Face Brush, I applied Revlon’s Stay Matte Powder in Translucent all over the face

10. Using Elf’s Contour Brush, I countered applied Elf’s Mineral Blush in Pink Passion to the apples of the cheek and blended upwards towards the hairline

DSC_0359

11. Using Elf’s Blending Brush I applied Covergirl Eyeshadow in Champagne to the tops of the cheekbones for a nice highlight

DSC_0362

12. Finally I applied Clinique Lipstick in Tender Heart to the lips to complete the look!

DSC_0368

DSC_0372 DSC_0366

Best of the Drugies

Eyeliner

As makeup lovers, we all know the excitement that comes from purchasing a new product and testing it out for the first time after spending countless hours researching, blog creeping, and saving up for more of those high end products. It’s almost an addictive thing if you tend to be extremely passionate about cosmetics and have a slightly obssesive personality such as myself 🙂 My opinion when it comes to high end products is that there are some that are definately worth the hype, price, and designer label. However there is nothing worse than purchasing a high end product after hearing how it changed Sandy Beautybuttcheeks’ entire outlook on life and finding it less than satisfactory. Not only does it leave you burned and questioning the legitimacy of Sandy’s buttcheeks, but more importantly it leaves your wallet burned and questioning if high end products are just drugstore products packaged in a fancier and chic way. I’ve experienced my fair share of shitty makeup products, however as someone who falls in love with a product and constantly needs that product in their kit in order to feel complete again, I’ve found a few drugstore products that definately leave my conscience and wallet satisfied.

Foundation

1. Boots

Boots Botanics Virtually Weightless Colour-Adjusting Foundation

The texture and consistency of this foundation is nothing like I’ve ever experienced before from even high end foundation products. When I purchase foundation for the first time I love to apply it with my fingers to see how blendable and buildable it can be. This product not only feels “virtually weightless” but looks incredibly natural do to its matte finish and color adjusting capabilities. I tend to have a paler face than the rest of my body, so I usually go 2 shades darker than my actual skin  in order to get my desired shade.

Concealer

2.Sonia

        Sonia Kashuk Concealer Palette

What I enjoy most about this palette is that it has not only a greenish tint to cancel out redness, but there are two additional differ shades of concealer for you to apply on various areas and the creamy consistency of these concealers allows you to blend seamlessly and adjust to match your skin tone. During the day I rarely apply concealer to my under eye area because I happen to find that concealing that area really results in creasing for me since I tend to be abnormally expressive with my eyes. Not to mention it just doesn’t look natural. I use concealer more for blemishes, however if I know that I’m going to be photographed or if I’m going for a more “made-up look” for a date or girls night out, I will use concealer. I think overall these concealers are very pigmented for what you pay, and it comes with a translucent setting powder which is definately an added bonus.
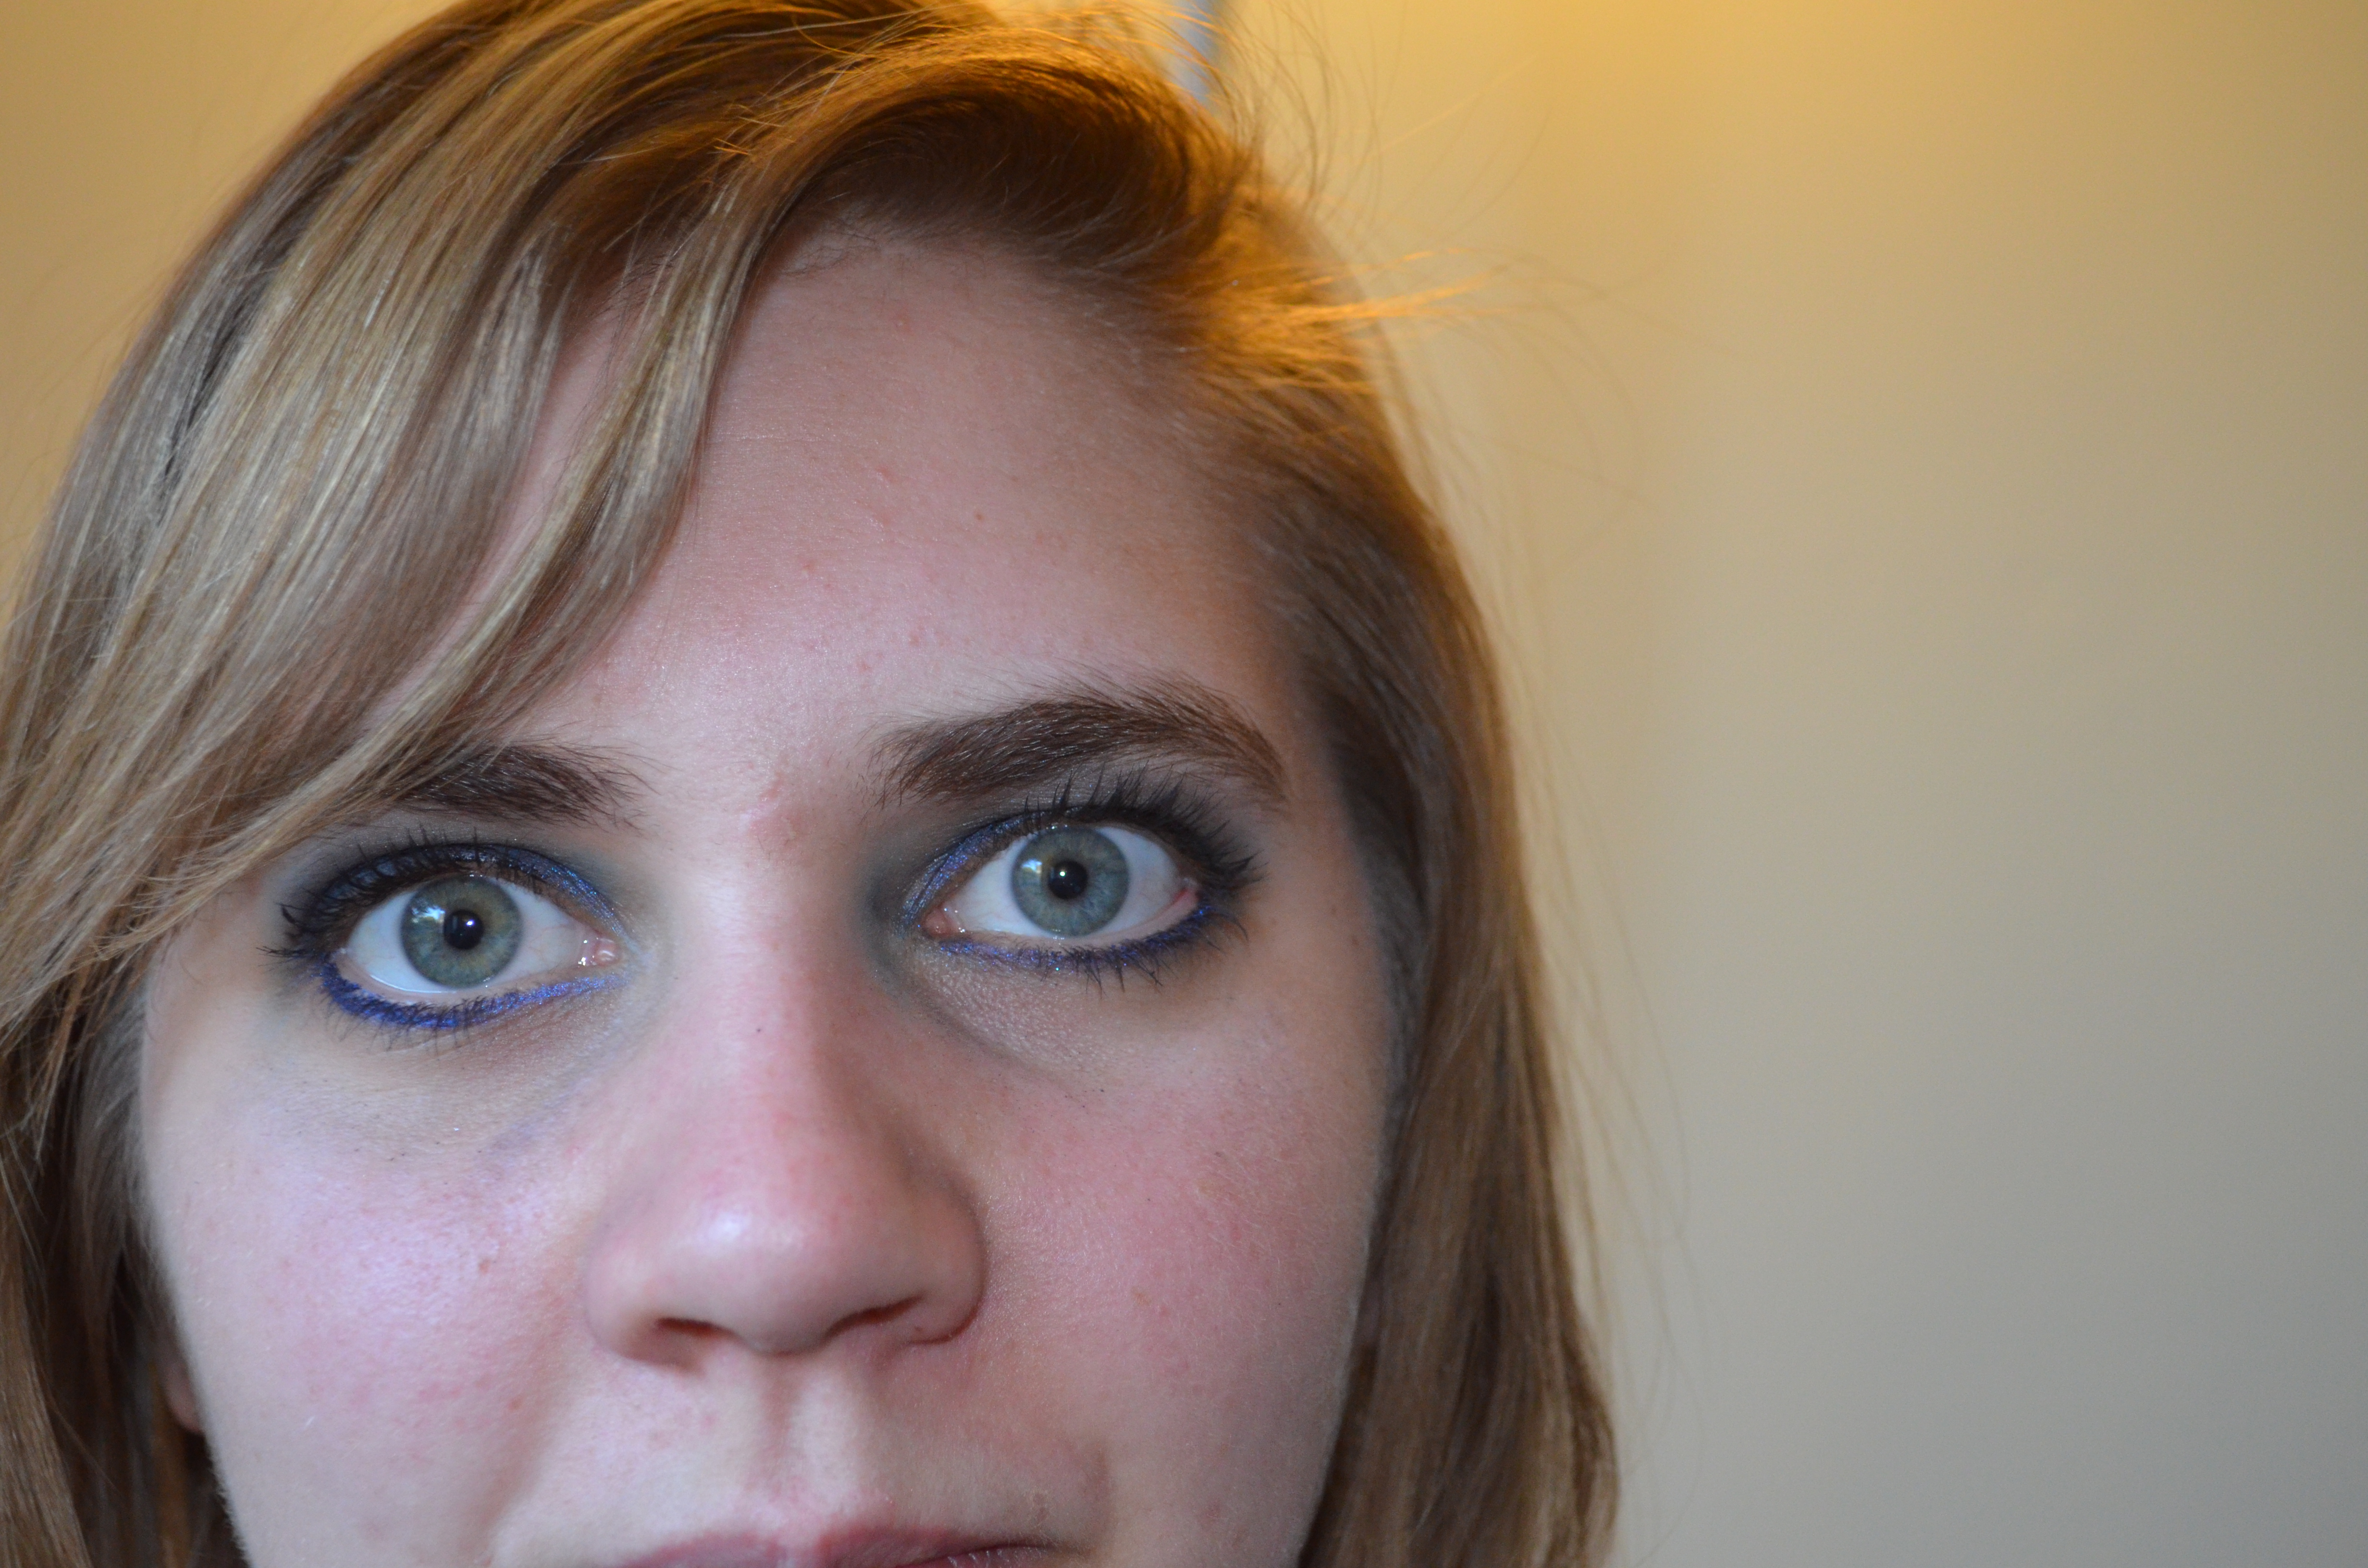
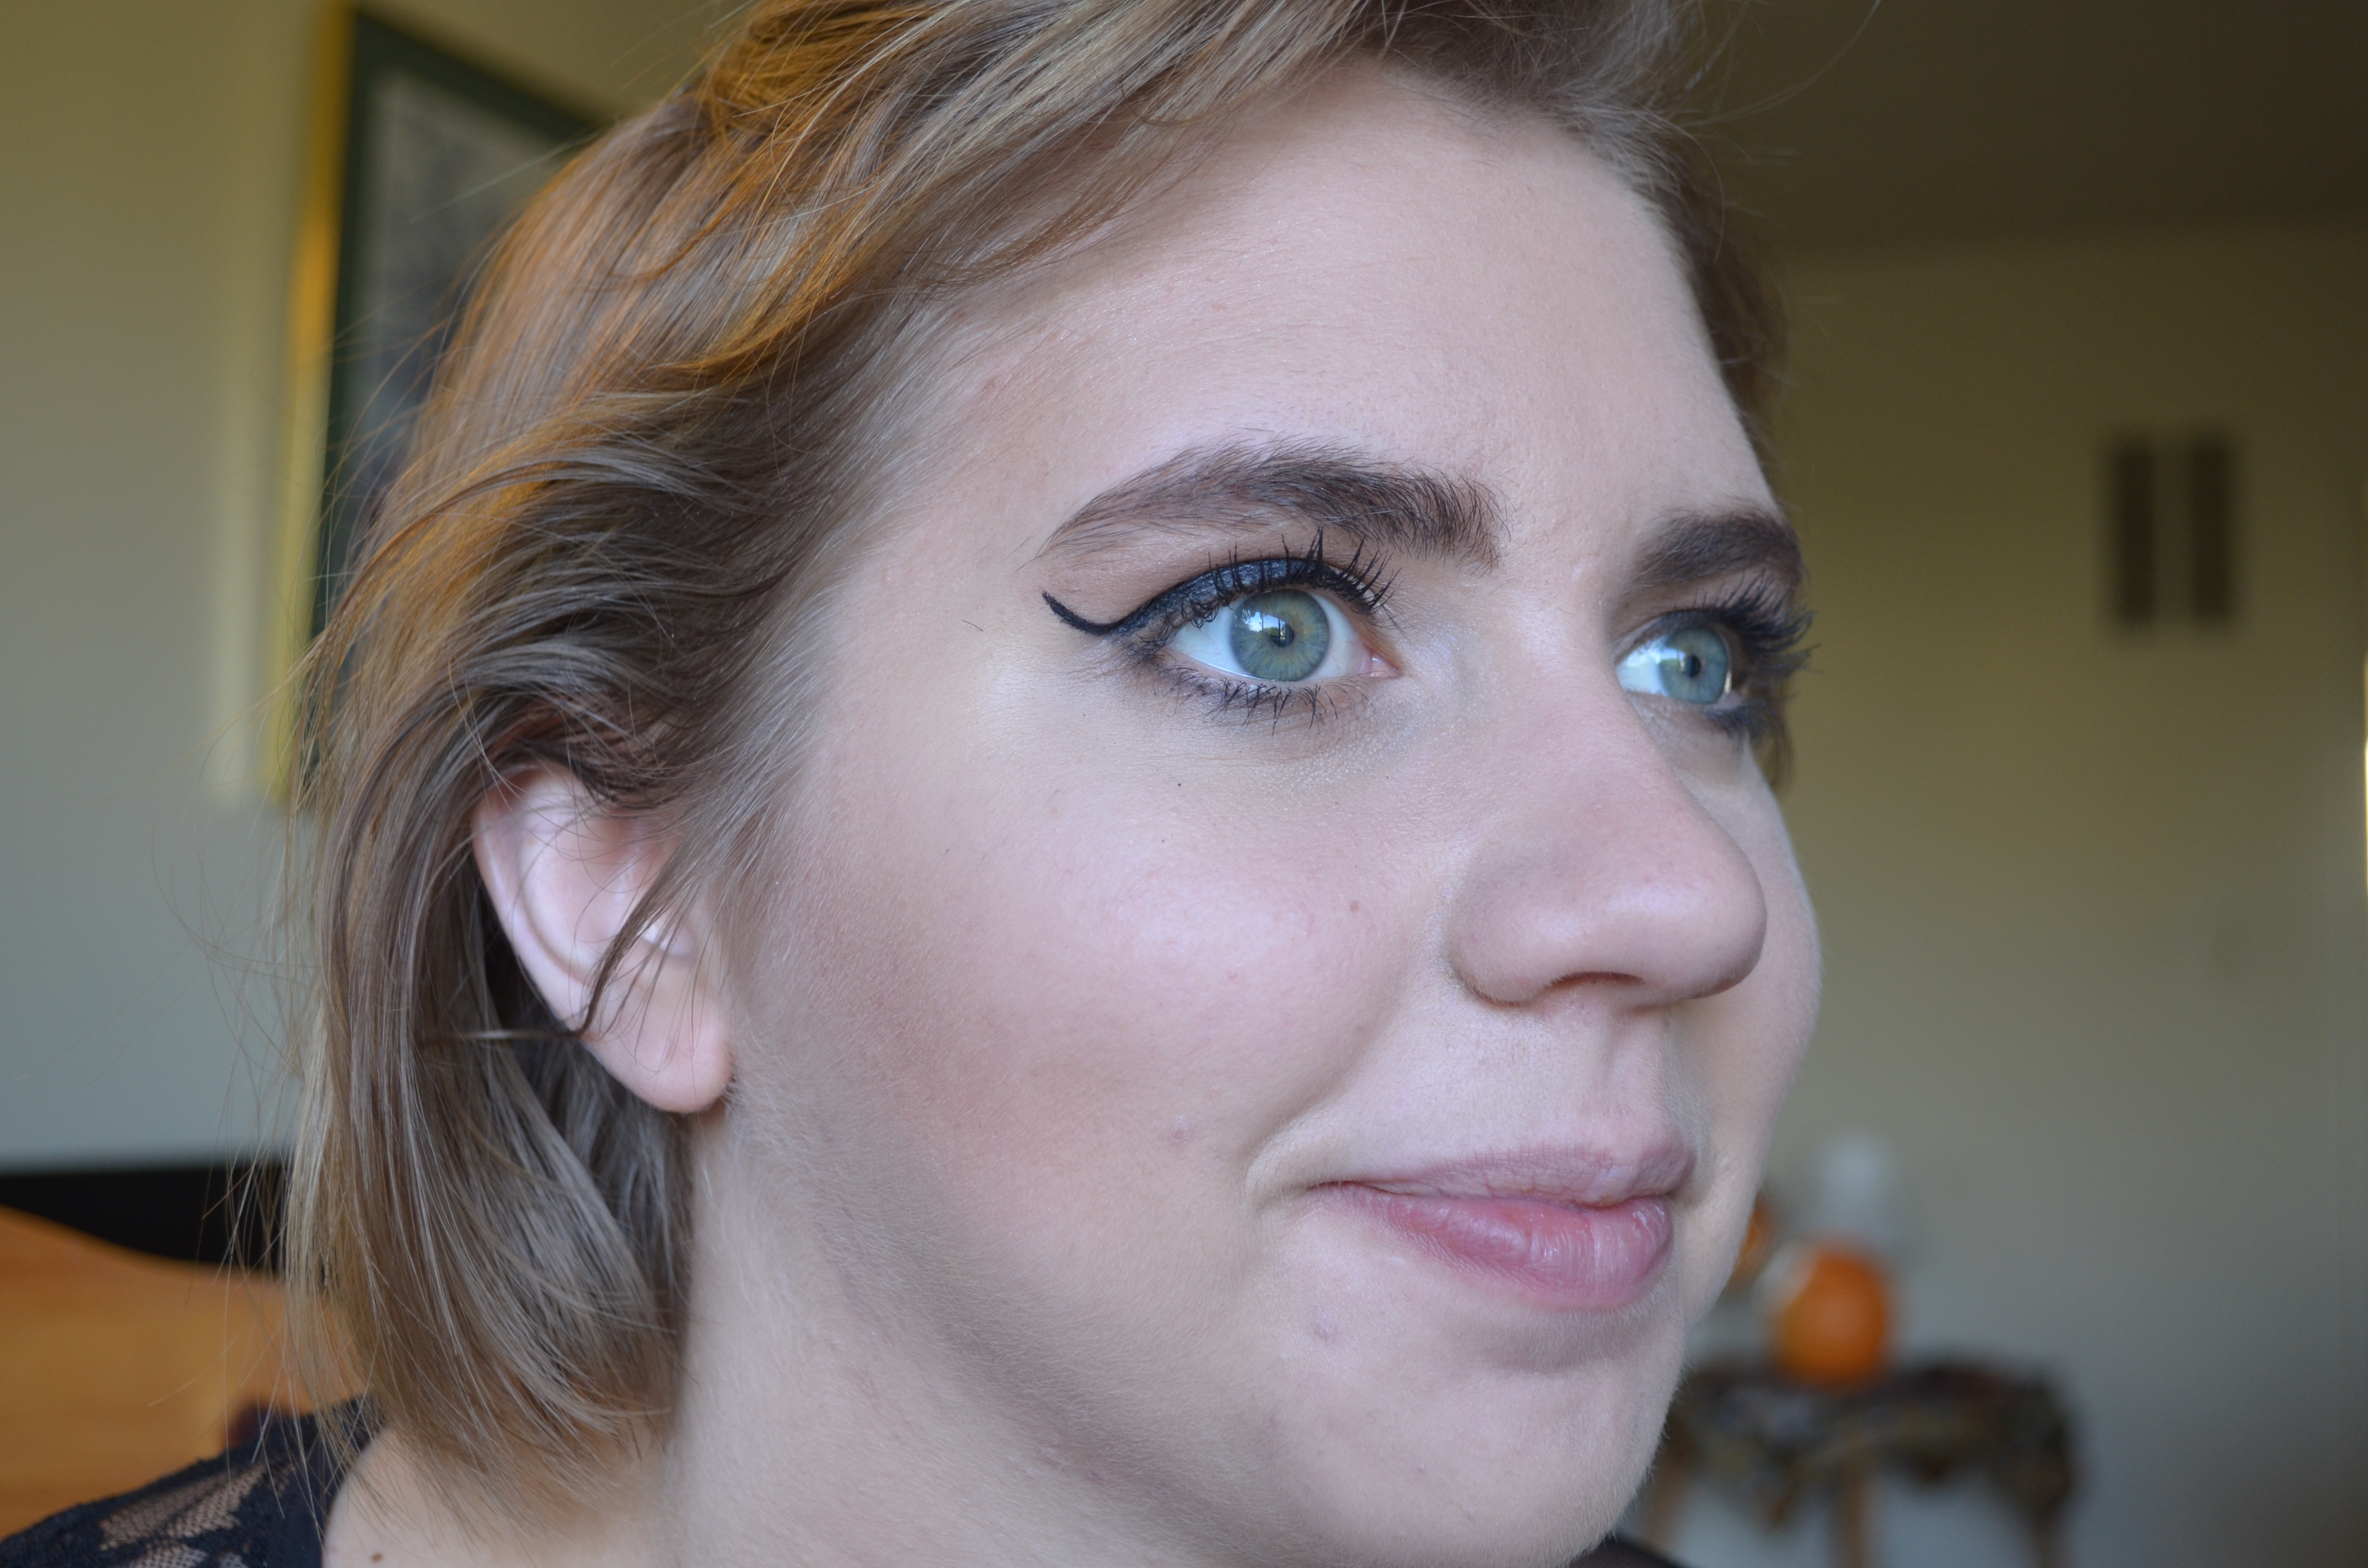
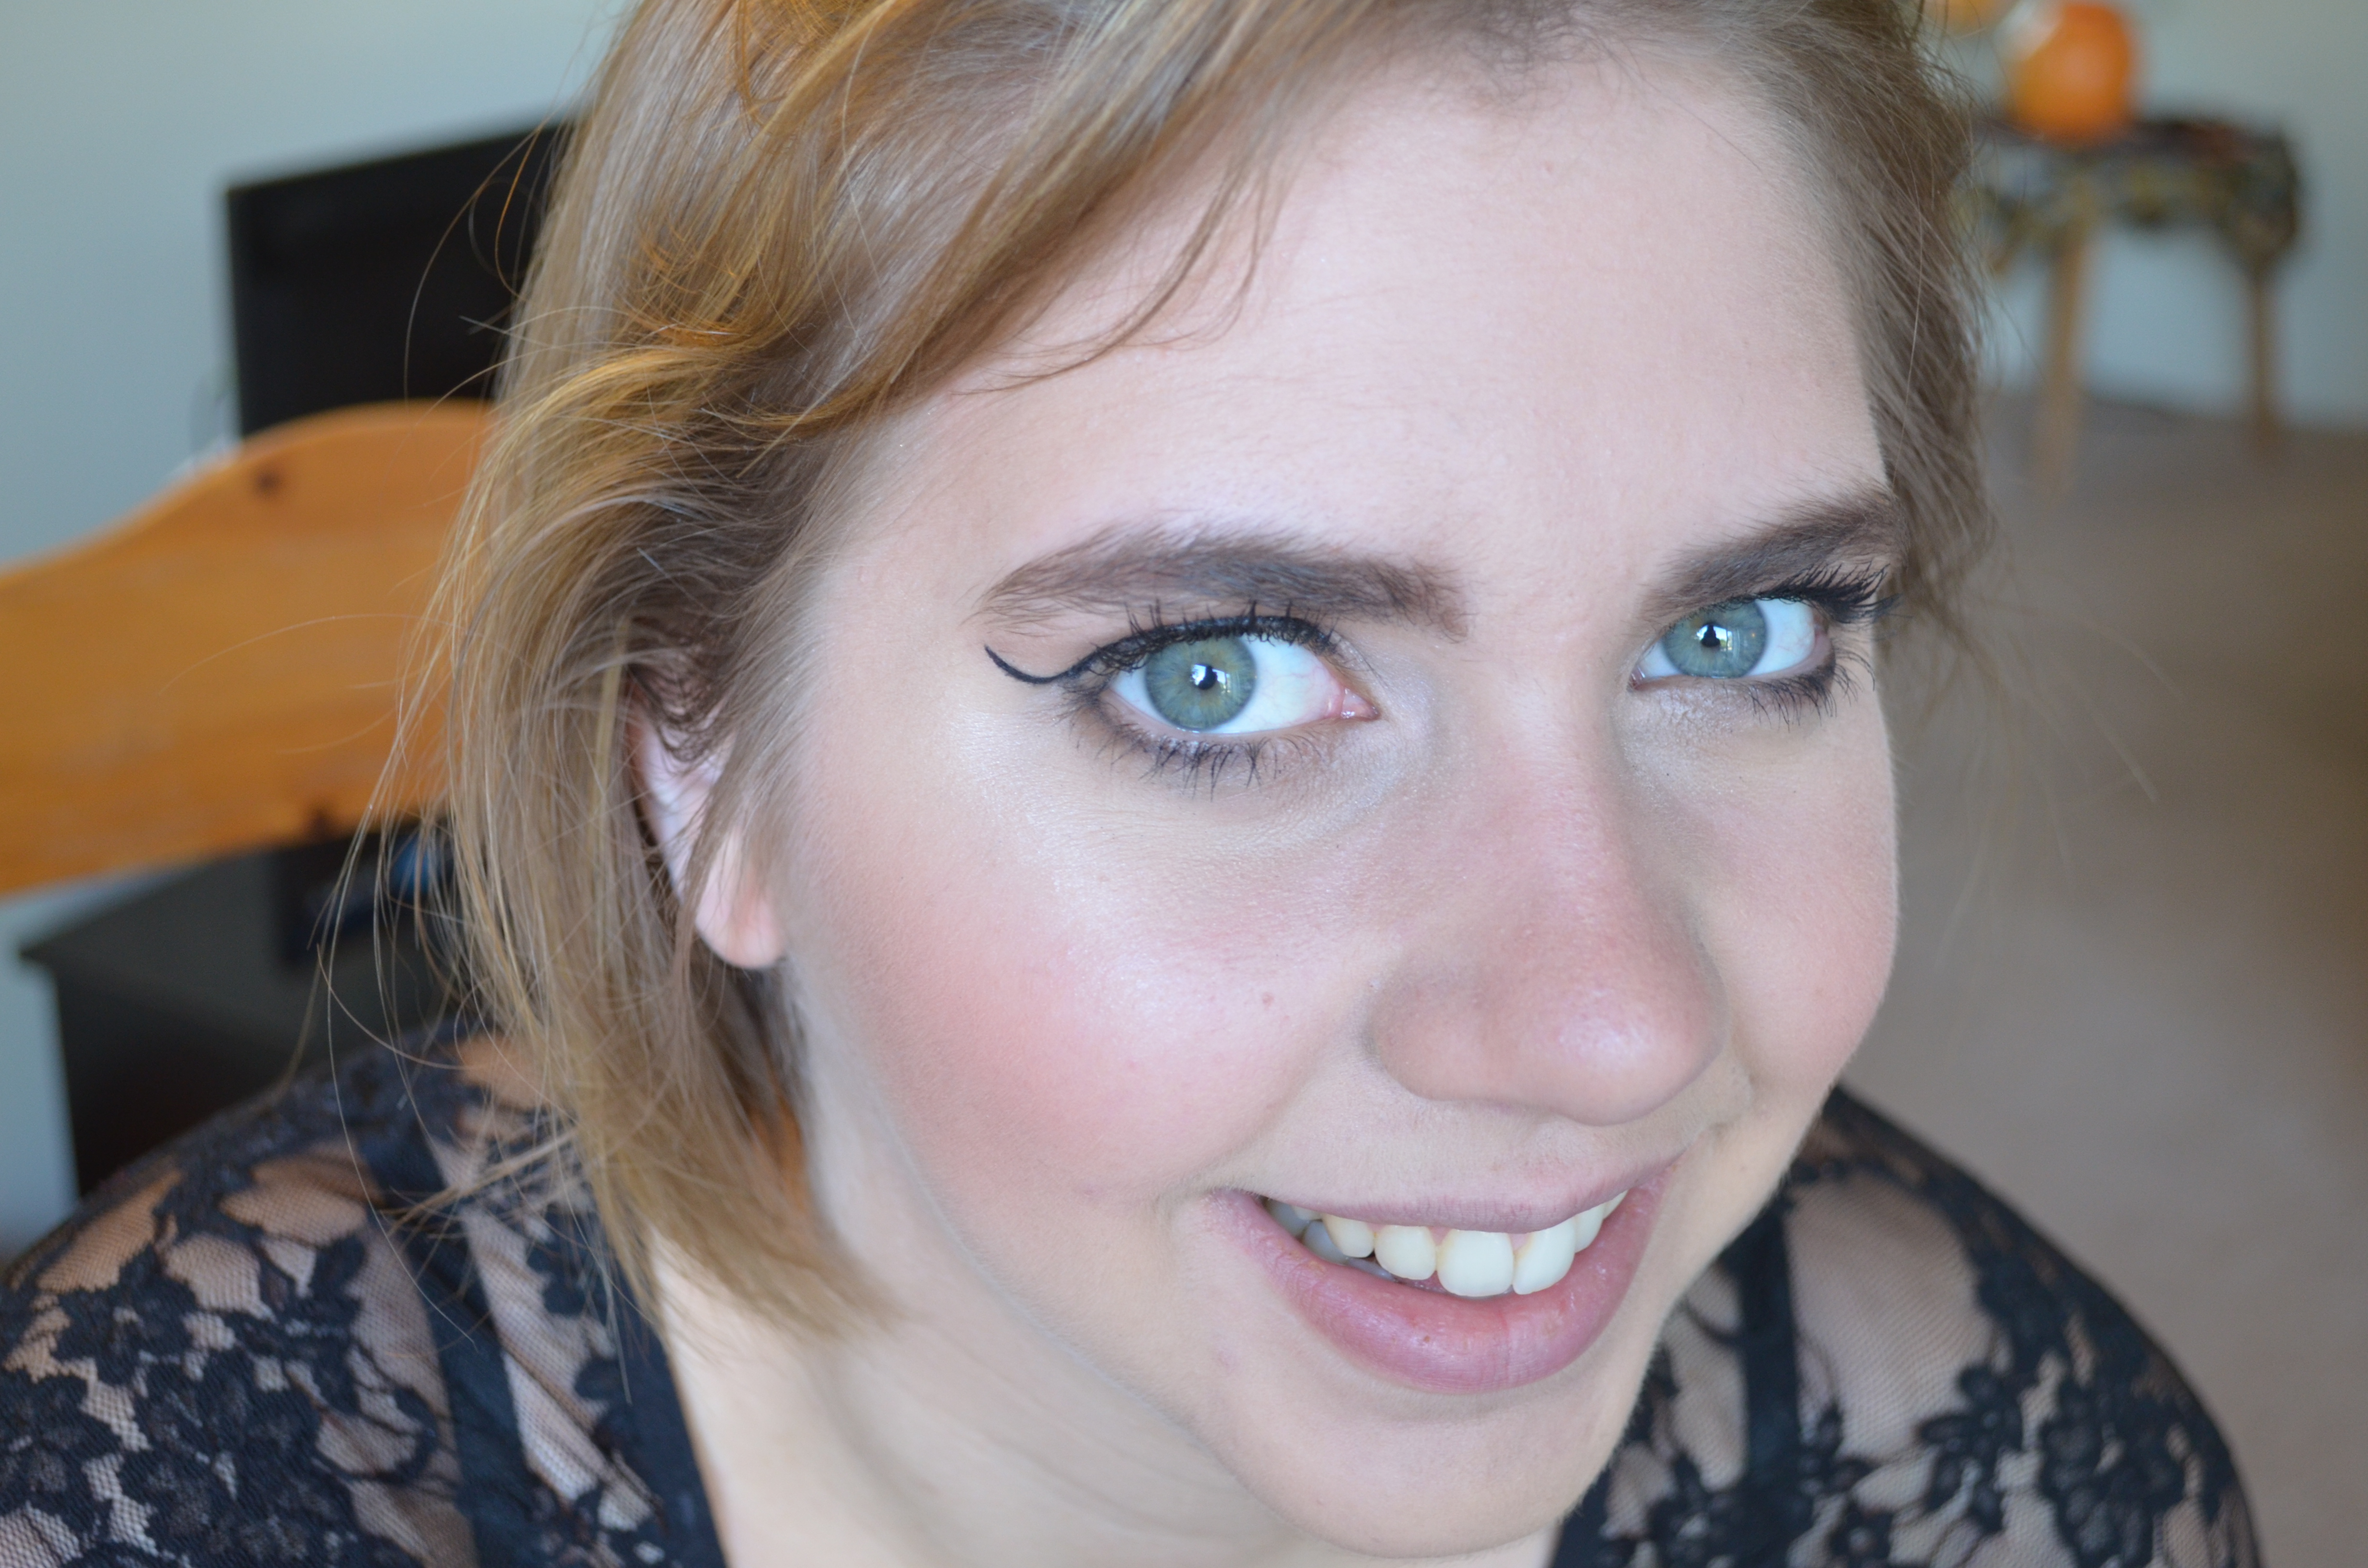
Gel Liner

3.Gel Eyeliner

         Maybelline Black Eyeliner

This shit is my JAM. It comes with this incredible brush that allows you to get that perfect cat eye wing but I also use it for applying this liner on my inner rim and applying eyeshadows on my lash line. I’ve never had to purchase a high end black gel liner because this product not only lasts a long time, but won’t budge. If definately showered with this product on and it even managed to stay put through that. Definately something that once you try, you’ll never need to purchase a high end version of.

Mascara

4. Falsies

     Maybelline Volum’ Express the Falsies Waterproof Black Drama Mascara

Phew, that was a long one. Maybelline generally has great mascaras, but I like this one most because it really adds extreme length and volume if you’re going for a dramatic look. It’s  contact lense safe, which is great for me since there is nothing more annoying than getting makeup in your eye and having it permanenly glued to your contact lense.
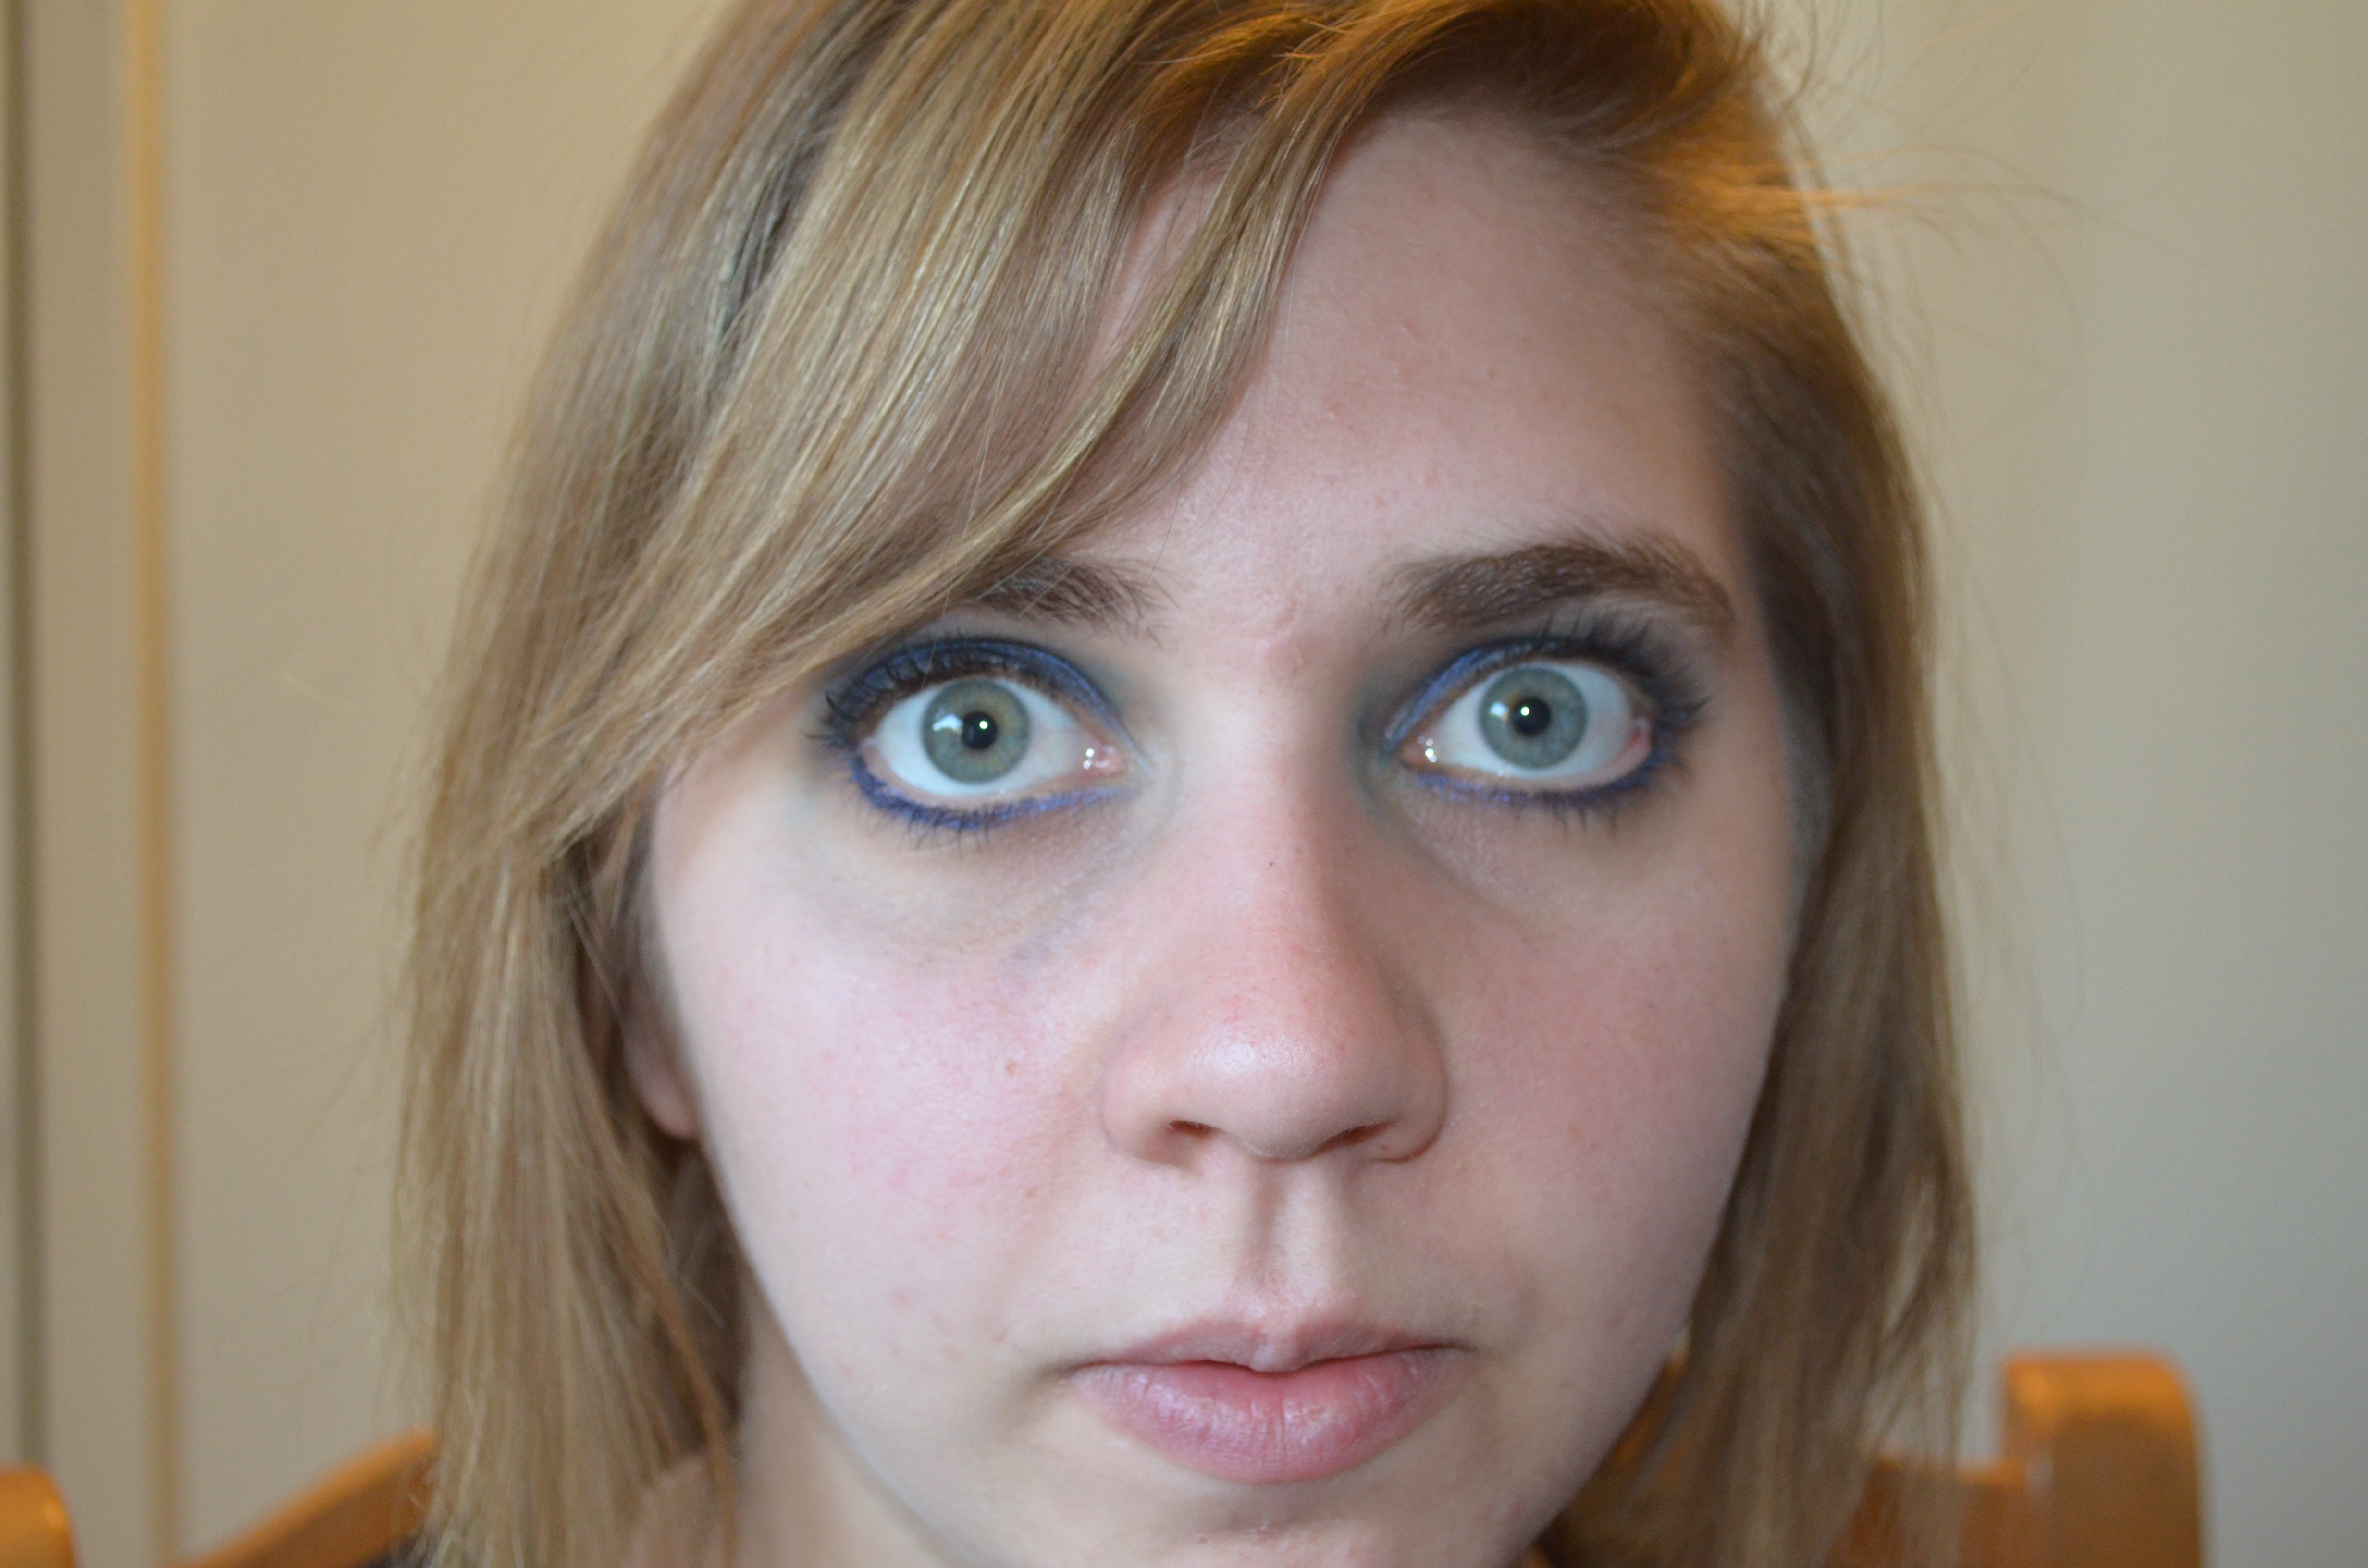
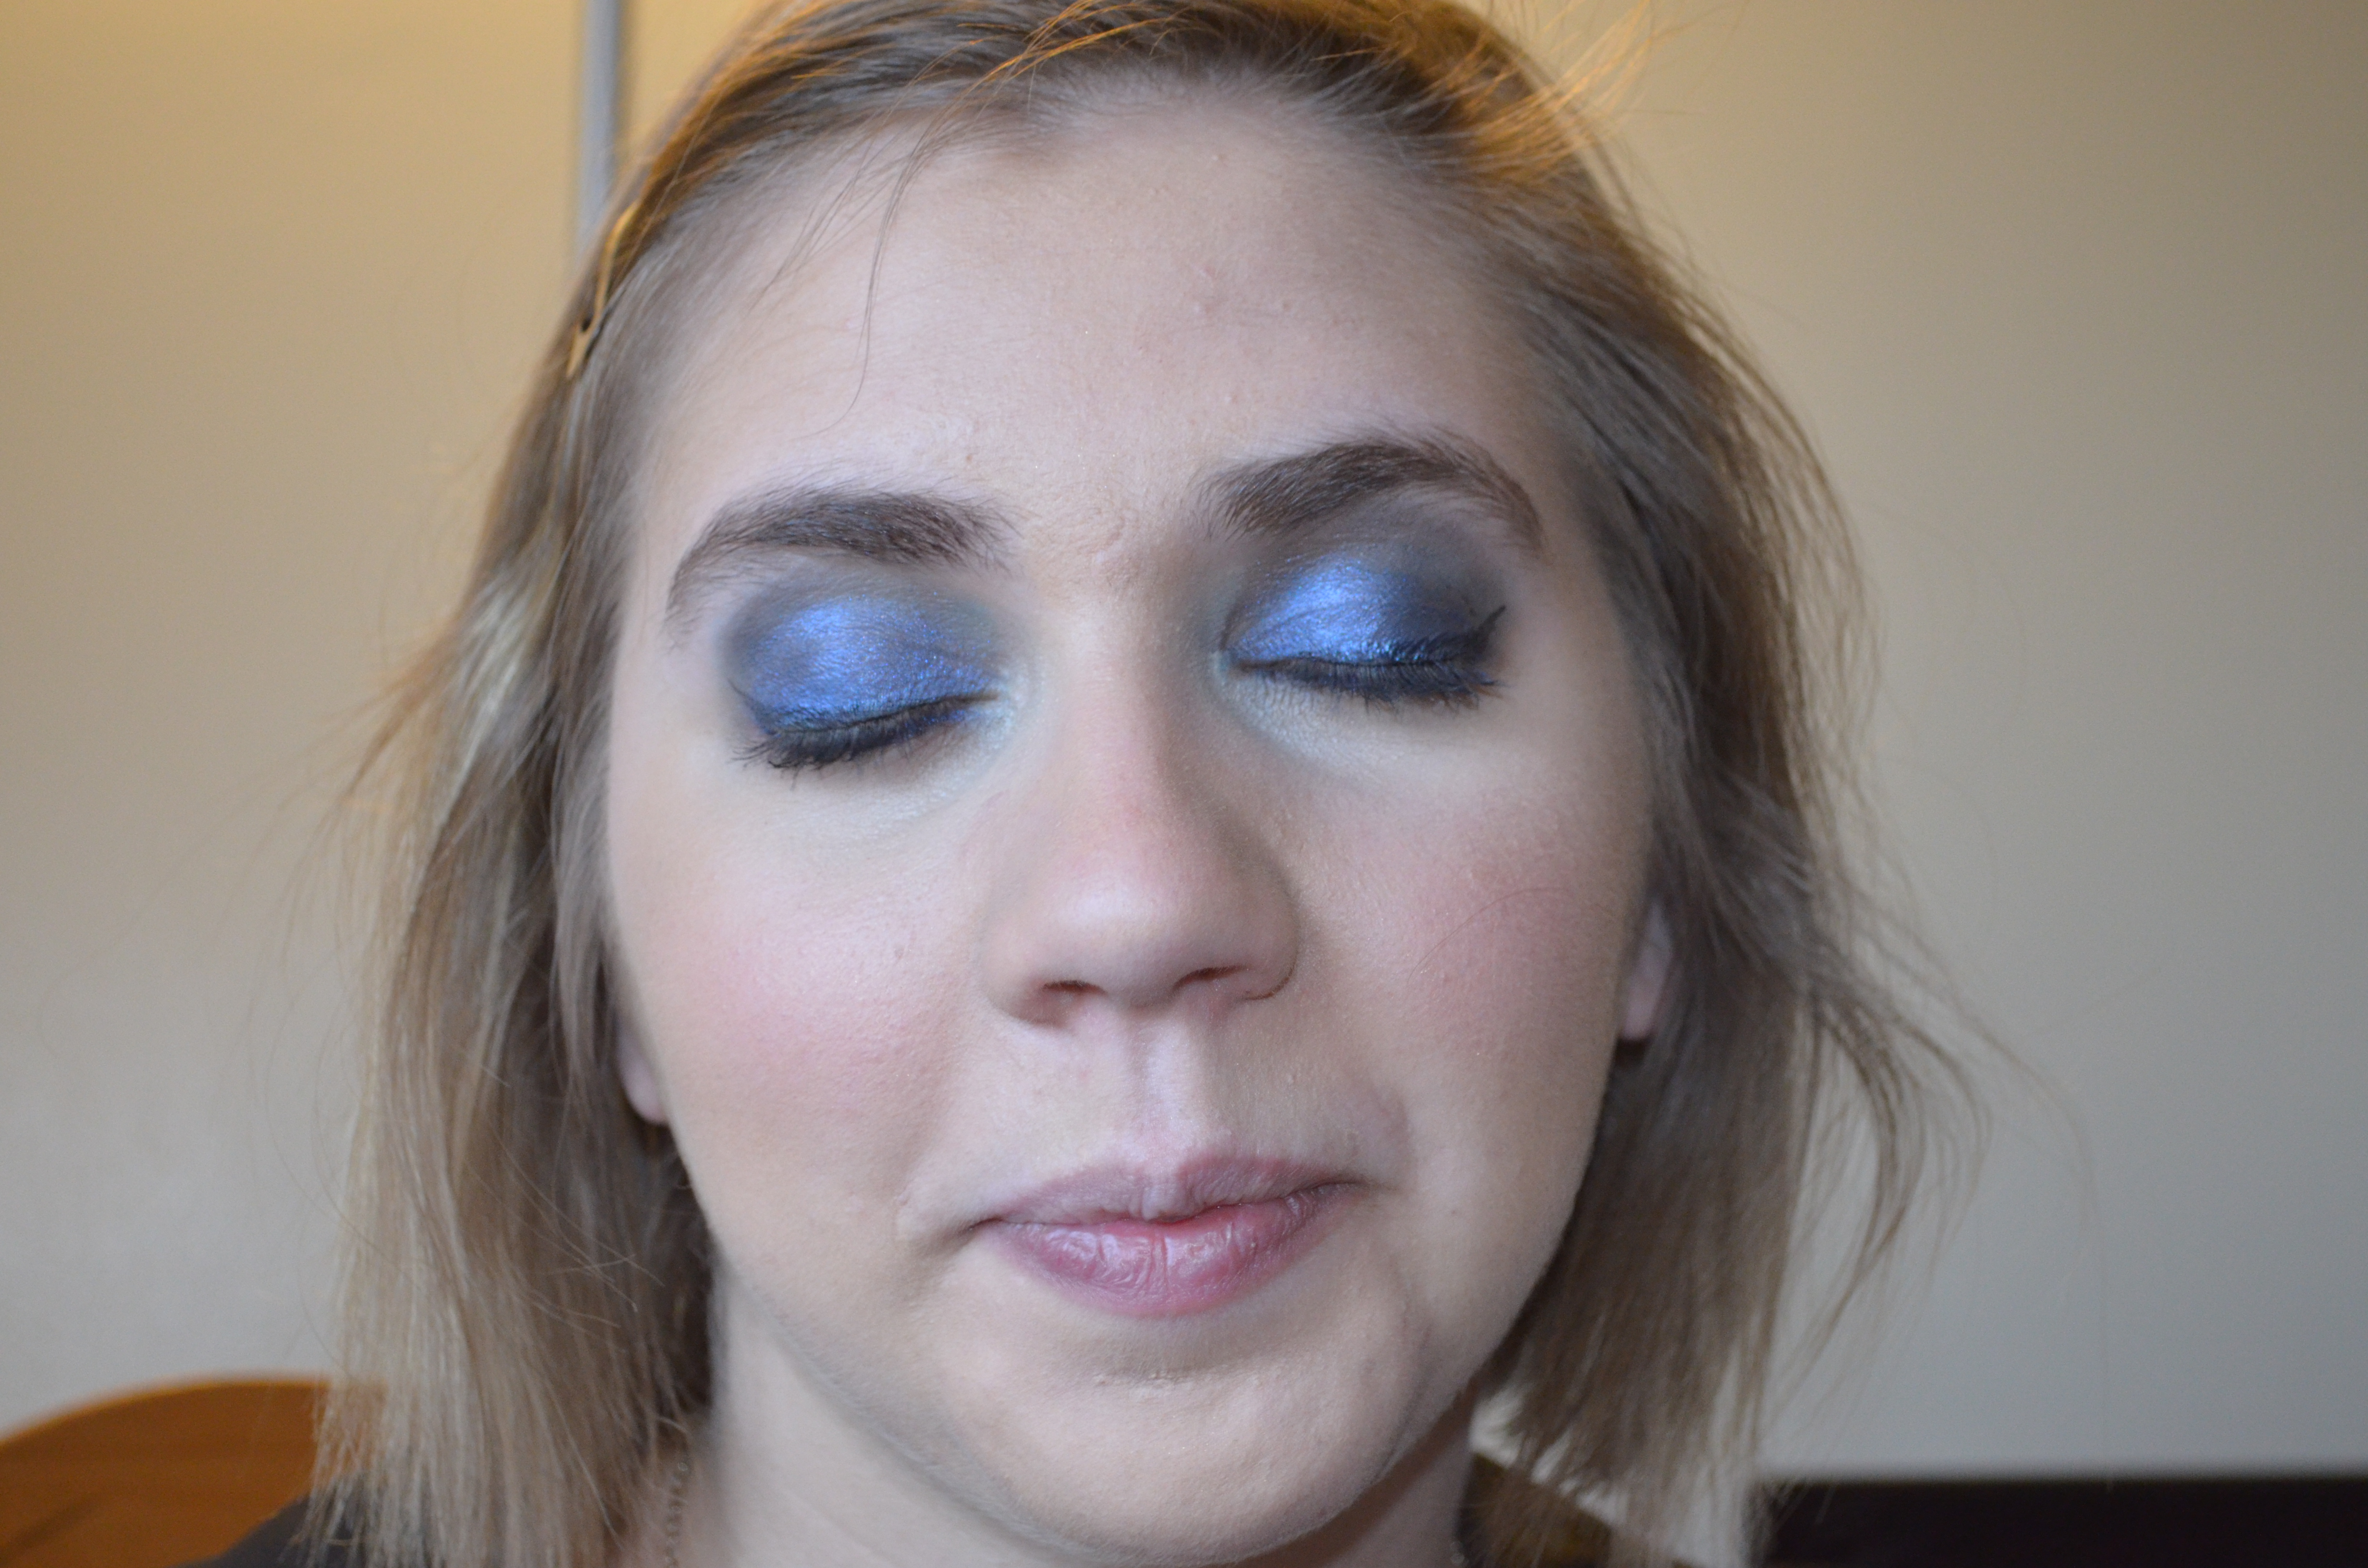
Eyeshadow

5.cream eyeshadow

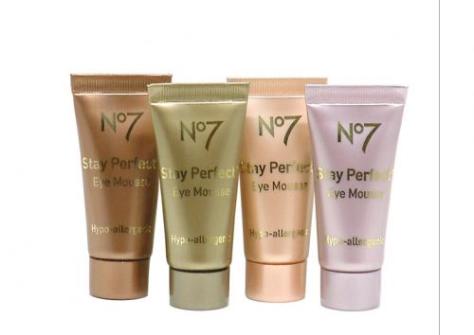
         No 7 Stay Perfect Eye Mousse

I bought the bronze color of this eye product 4 years ago, and I’m not even halfway done with it. Initially what drew me to this product was that is was hypoallergenic (*SNORT! NERD ALERT!) but as I used it more and more, I realized that it has a beautiful consistency since it is a mousse cream, and it is so pigmented that a little bit goes a long way. The only thing I would recommend for this product since it is so maleable, is that you really need to use a eyeshadow primer if you have oily lids like I do to ensure minimum creasing. Other than that the colors are beautiful and are perfect if you want that glossy shine affect on your lids without sparkles.

Face Primer

6. primer

           e.l.f. Studio Mineral Infused Face Primer

Because of my acne medication, I tend to have drier patches on my skin. What I like most about this primer is that not only is it good for for smoothing out those drier areas, but its good for controlling the oilier parts of my face which tend to me on my t-zone. Also, other primers that I’ve used tend to make me break out, this is the only one I’ve used that doesn’t torture my skin. I’ve gone through 4 of these primers already, and continue to purchase them because they are only 3 dollars.

Blush

7.Blush

          e.l.f. Studio Blush in Pink Passion

 This color seems scary in the palette, but when applied generously to the cheek it adds the most natural pinky tint to the cheek.  Again, only 3 dollars.

Lipstick

8. Lipstick

    Rimmel London Lasting Finish Kate Moss Collection

Don’t have much to say about this product other than it applies beautifully on the lips and has great color payoff. I’m not a huge lipstick fan because I find them to be very drying and chalky, but this product is very forgiving to the lips and doesn’t leave them looking like a butthole. You all know what I mean.

Setting Powder

9. Stay Matte

Acne Treatment

+  + = SUCCESS!

Everybody has their own weird concoction of medications that work to improve certain types of acne. I’ve struggled with acne ever since the tender age of puberty, so I’ve tried everything and I mean EVERYTHING (don’t use ProActive! It BURNS). Luckily I’ve been blessed to now only have moderate cases (or so I’ve been told by my dermatologist), however I do feel that in recent months this combination of medications/dietary supplement has really worked the best for me. I’ve done enough benzyl peroxide treatments to constitute for a chemical peel, and it just plain painful. And irritating. And I’m convinced it causes facial bleaching.

So what I’ve learned in my acne treatment experiences is that slow and steady wins the race. The key to all regiments is to use minimal product only on affected areas. This can mean a pea sized amount to even a dime size amount. When you use excessive amounts of gels/creams it doesn’t work to make the process go any faster because there is only a certain set percentage of medication in every product.  Clindamycin works to stop the growth of bacteria on the face that causes infection when the pore is clogged with dirt, grease, oils, or whatever the hell our face puts up with on a daily basis. Adapalene acts like a retinoid, which basically means that it helps bring pimples up to the surface faster and therefore help with minimalizing scarring.

The magic ingrediant in this regiment is definately the Niacinimide or Vitamin B3 supplement. The key is to take 500mg a day, which usually means two capsules since each capsule has about 250 mg depending on the brand. It basically acts as an anti-inflammatory agent against irritated skin conditions, which often occur as a result of acne treatment. Now trust me when I say, DO NOT underestimate the importance of this step in your acne treatment because I have done so and have suffered the patchy, flakey, dryness as a result of my negligence. Think of it has something that minimizes the discomfort of using really irritating medications. It REALLY makes a difference.

So usually this is how my day to day works:

MORNING

1. Use a gentle cleanser.

 Neutrogena’s Fresh Foaming Cleanser is my favorite, hands down. It almost revitalizes the skin and gives you the really healthy glow. Super down.

2. Apply small dose of Clindomycin on only affected areas.

3. Moisturize using a non-comedogenic lotion.

4. Apply small dose of Adapalene on only affected areas.

5. Moisturize using a non-comedogenic sunscreen with at least SPF 15. (Important when using retinols)

6. Take 250 mg of Niacinamide.

Then repeat this whole process at night.

When you find that your skin is beginning to show signs of improvement, you can minimize this regiment to only once a day. Either in the morning or at night.

GOoD LuCk!

About Me?

Let me be the first person to say that I’m not a makeup artist, beauty guru, expert, cosmotoligist, astrologist, etc. I like to think of myself as someone who is quite aware of the fact that nobody in this world is perfect; including myself. If I was somebody who claimed to wake up looking like Alessandra Ambrosio or *insert personal beauty icon here* everyday,  I wouldn’t be creating this blog in the first place.

The point is, we all have imperfections that we can either embrace or be ashamed of (or for those of us who can afford it, pay big bucks to fix!). There are a lot of mean girls and boys in the world who will tell you to look, eat, and act a certain way because it “defines who we are” but I think that ultimately we are our own harshest critic. The point of all this blabber is that sometimes I find myself getting by easier in life when I embrace who I am and everything that comes along with that; including the imperfections. And if there is one thing that I hope people and animals take away from all this, it is the courage to embrace the good, the bad, and the fugly in all of us.

I really enjoyed that…..